How to Use Face Swap in PicsArt: Step-by-Step Guide
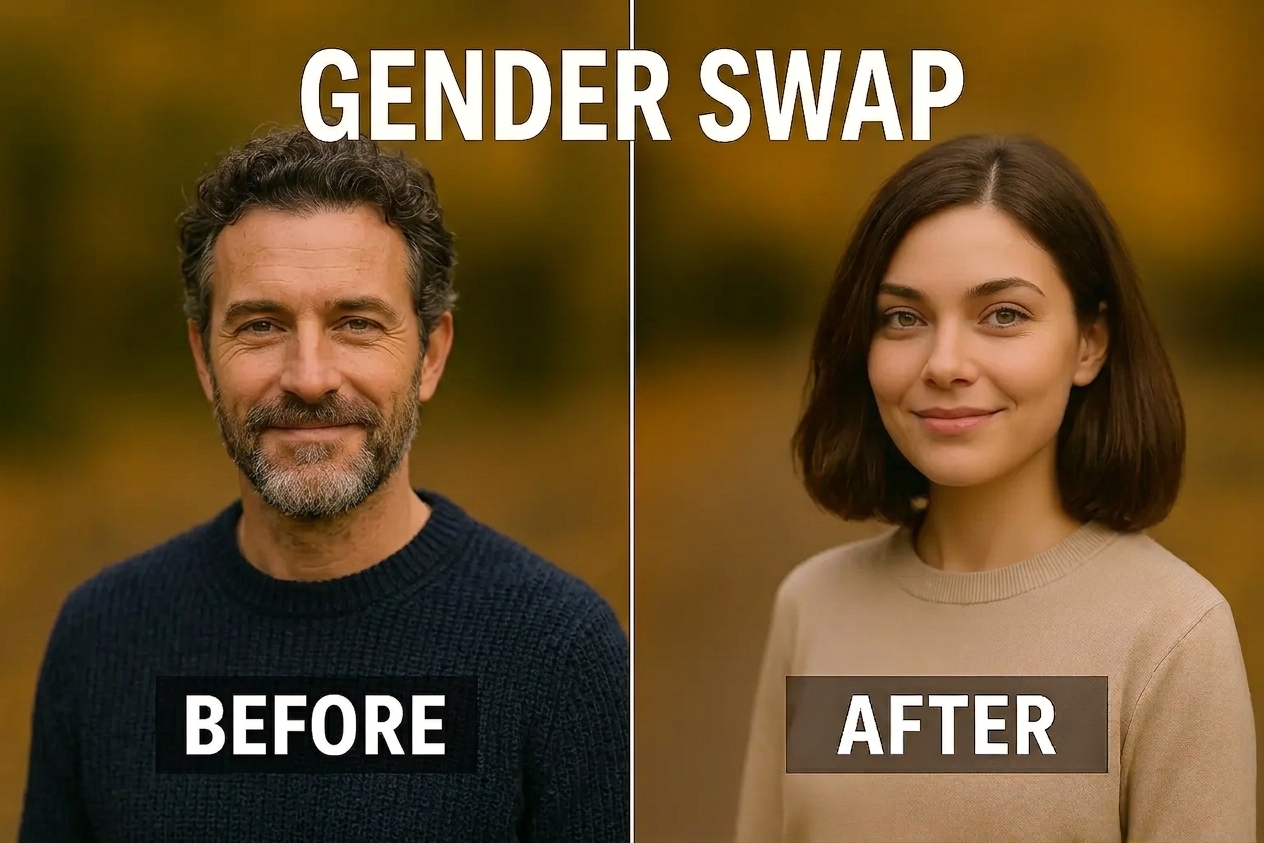
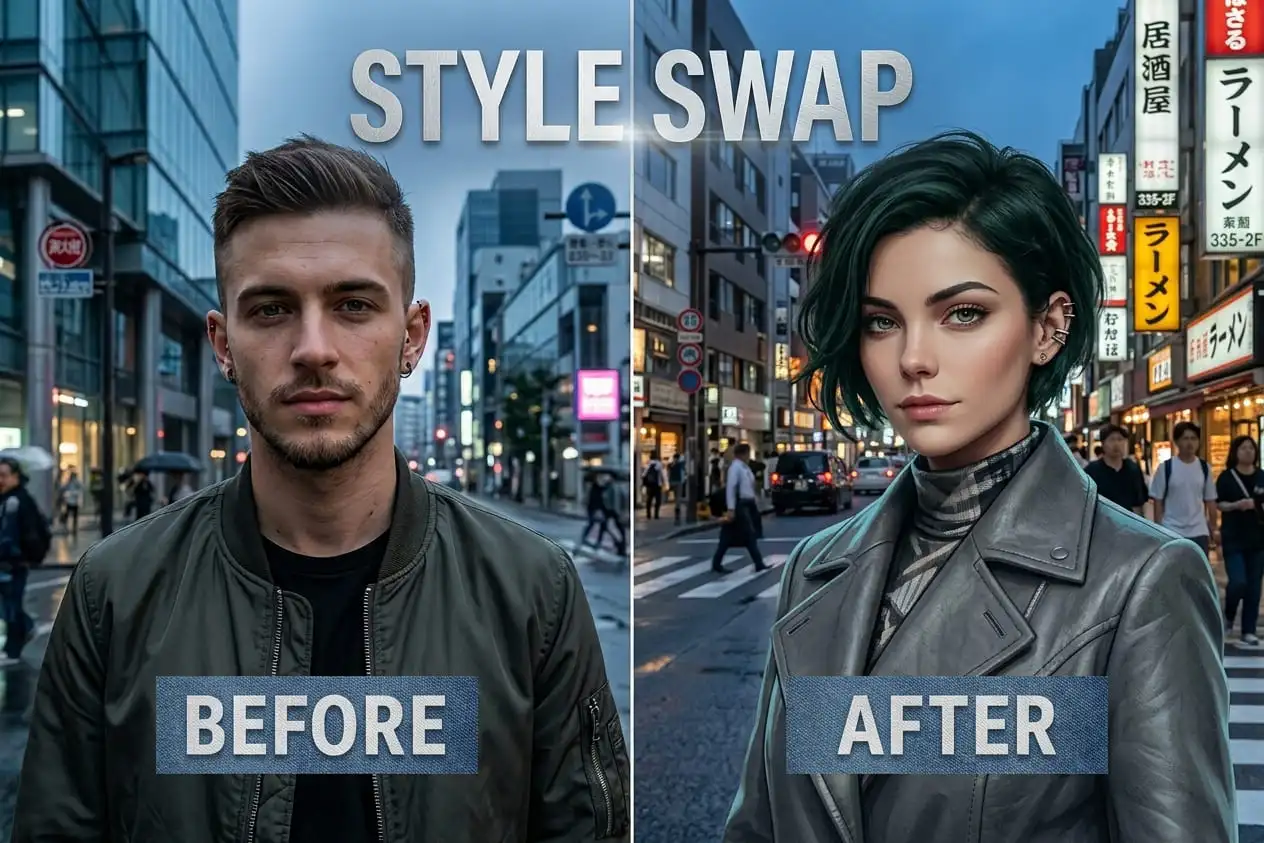
Face swapping is a popular way to create funny photos, creative portraits, memes, and social media content. With PicsArt’s AI-powered editing tools, you can change selected parts of an image and experiment with different facial looks without needing advanced Photoshop skills. Depending on your PicsArt version and platform, face-related editing may be available through AI Replace, Cutout, Retouch, and other editing tools.
In this guide, you’ll learn how to use face swap in PicsArt, how to create a cleaner result, and which settings can help your edited photo look more natural.
Why Is Face Swap Popular?
Face swapping is popular because it lets users create interesting photo edits without complicated editing software. You can use it for:
How to Use Face Swap in PicsArt?
The exact process can vary depending on the PicsArt version you’re using.
Open PicsArt and Choose a Photo
- Open the PicsArt app and start a new project.
- Tap the option to add or edit a photo and select the image you want to use as your base photo.
- A clear source image gives the editing tools more information to work with.
Add the Second Face or Image
If you’re creating a traditional manual face swap, you’ll need a second image containing the face you want to use. Choose a face that has a similar:
- Camera angle
- Head position
- Lighting direction
- Facial expression
- Image quality
Try AI Replace for AI-Based Face Editing
Open the AI editing tools and look for AI Replace if it is available in your version. Then:
- Select the area of the face you want to change.
- Make sure the selection covers the area you want to edit.
- Enter an appropriate description if the tool asks for one.
- Generate the result.
- Compare the generated variations.
- Choose the version that looks most natural.
AI Replace can also be used for other parts of an image, so it isn’t limited to face editing.
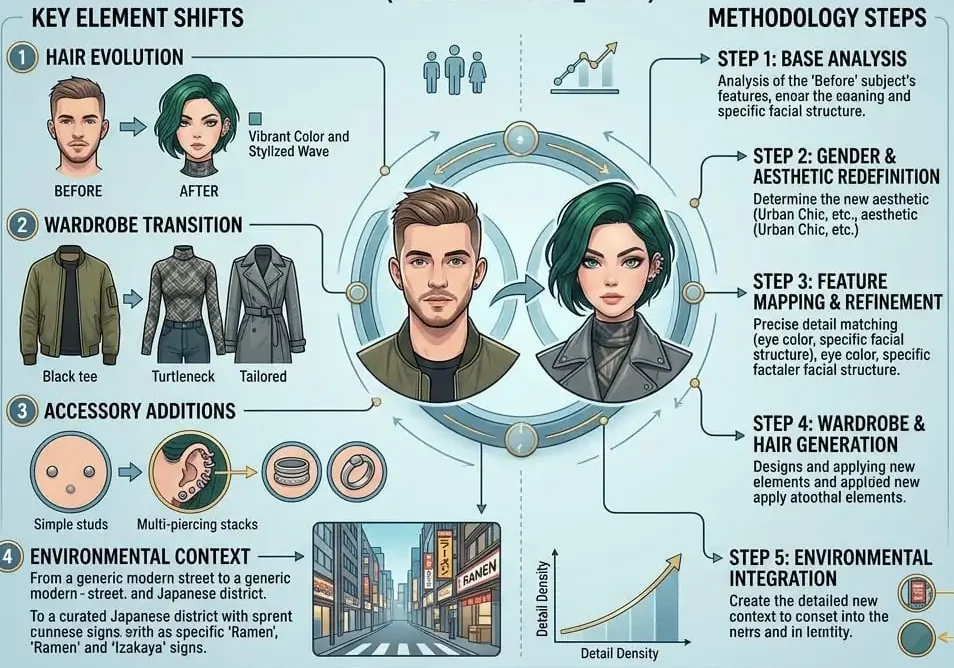
How to Manually Face Swap in PicsArt?
You can create a manual face swap using PicsArt’s layer and Cutout tools.
Import the base photo.
Open your main photo in PicsArt. This will be the image where you want to place the new face.
Add the Second Photo
Use the photo or add-image option to bring the second portrait into your project as another layer.
Use Cutout to Isolate the Face
- Select the Cutout tool and isolate the face from the second photo.
- Depending on the image and your PicsArt version, automatic selection can help you create the initial cutout.
- After selecting the face, check the edges carefully. Use available erase or restore controls to clean up areas that shouldn’t be included.
Resize and Position the Face
- Place the cutout over the original face.
- Resize it until the eyes, nose, mouth, and overall face position are reasonably aligned.
- You can also rotate the layer if the two photos aren’t at exactly the same angle.
Blend the Face With the Photo
A face swap can look unrealistic when the new face has a different brightness, color, or sharpness from the original image. Try adjusting:
- Opacity
- Brightness
- Contrast
- Saturation
- Warmth
- Shadows and highlights
Use the available blending and erasing tools carefully around the edges.
How to Make a Realistic Face Swap in PicsArt?
A realistic face swap isn’t only about placing one face over another. Several visual details need to match.
Match the Face Angle
- Use two photos with similar head positions whenever possible.
- A small difference in angle can make the final result look unnatural.
Match the Lighting
- If the original photo has light coming from the left while the replacement face is strongly lit from the right, the result may look artificial.
- Try to use photos with similar lighting conditions.
Match Skin Tone
- You can use PicsArt’s adjustment tools to bring the brightness, warmth, and color of the two images closer together.
- Avoid making the skin excessively smooth because this can remove natural facial details.
Keep the Edges Clean
- Look closely around the forehead, cheeks, jawline, and hairline.
- A visible cutout edge is one of the easiest ways to make a face swap look edited.
Use Similar Expressions
- A smiling face usually works better with another smiling face than with a completely neutral expression.
- Matching expressions can make the final composition more convincing.
How to Face Swap Two People in PicsArt?
To create a face swap between two people, start with two suitable photos.
Can you use PicsArt Face Swap on PC?
PicsArt also provides photo-editing options through its web platform, although the available features can differ from the mobile app. For desktop editing, open PicsArt’s web editor, upload your image, and check the available AI and editing tools.
Here is the detailed guide on how to install PicsArt on PC and its use.
Common Face Swap Problems in PicsArt
The Face Looks Too Artificial
This usually happens when the source images have very different lighting, angles, expressions, or image quality. Try using two more similar photos.
The Skin Tone Doesn’t Match
Use brightness, warmth, saturation, and other adjustment controls to make the colors more consistent.
The Edges Are Visible
Go back to the Cutout or erasing stage and clean the area around the jawline, cheeks, and forehead.
The Face Is Misaligned
Resize or rotate the replacement layer and align the eyes, nose, and mouth more carefully.
AI Replace Gives an Unexpected Result
AI-generated results can vary. Refine your selection and use a clearer, more specific description.
What Are Tips for Better PicsArt Face Swap Results?
For a cleaner edit, remember these simple tips:
Final Thoughts
PicsArt Face Swap can be a simple way to experiment with creative photo editing. You can use AI-based tools such as AI Replace where available or create a manual face swap with Cutout, layers, adjustments, and blending. For the most natural result, focus on the basics: choose similar photos, match the lighting and angle, make clean selections, and adjust the final image carefully.
Always use face-swapping tools responsibly and make sure you have permission to use other people’s photos.