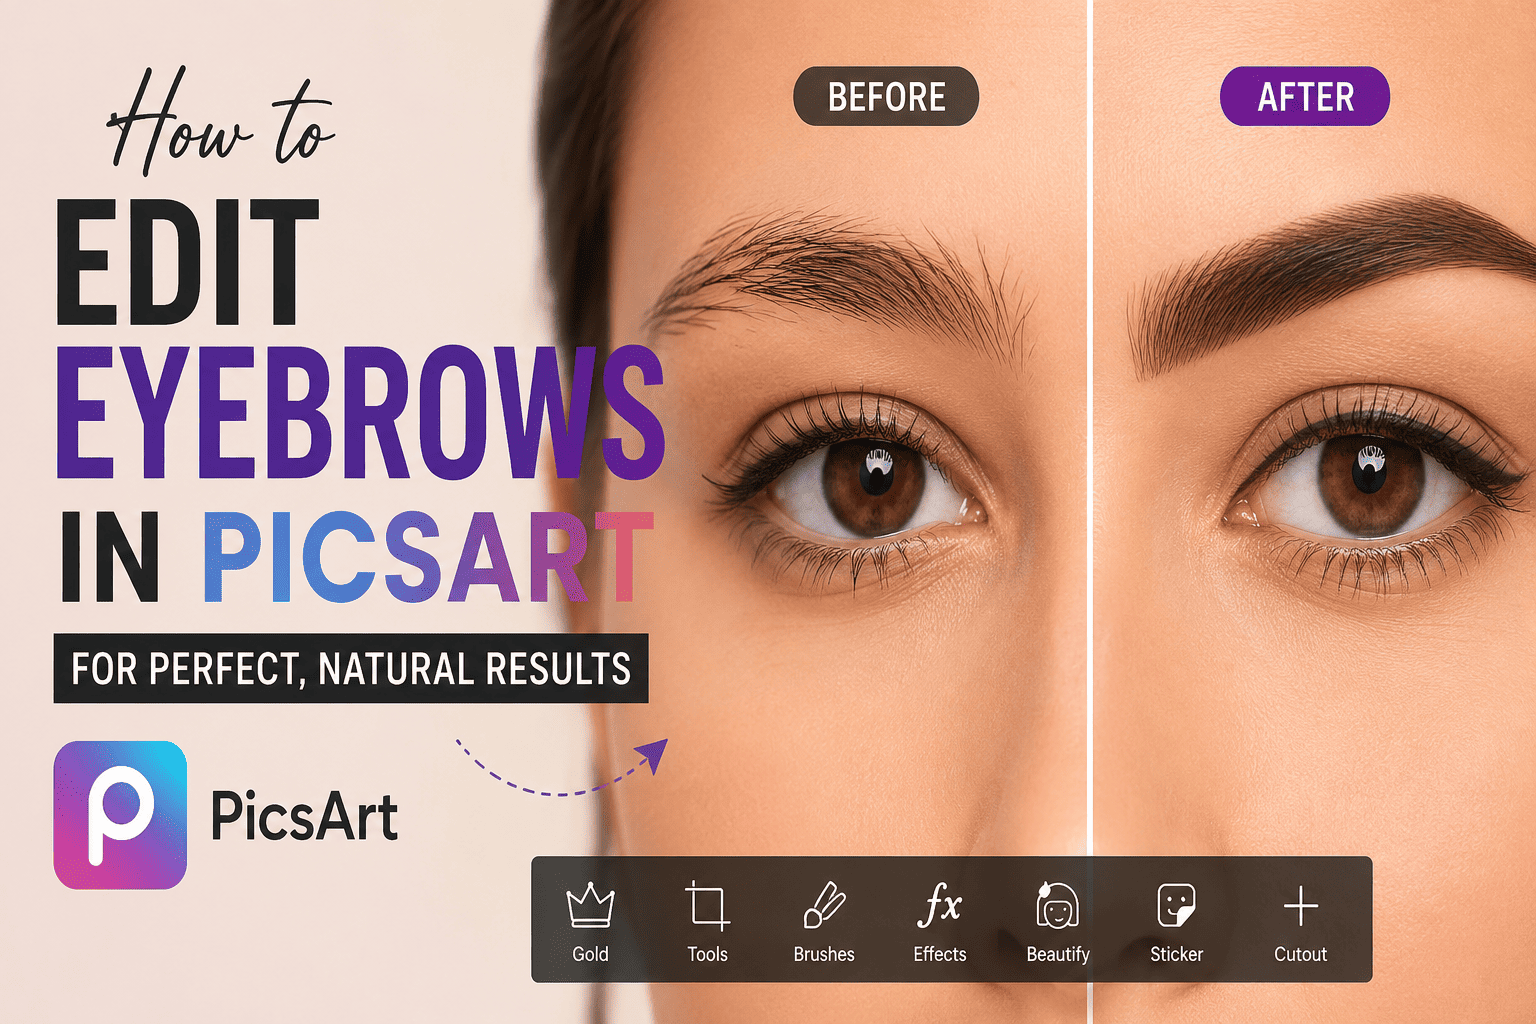
How to Edit Eyebrows in PicsArt
Uneven eyebrows are completely normal, but they can sometimes look more noticeable in selfies because of lighting, camera angles, or facial expressions. If one eyebrow appears higher, thinner, or less defined than the other, you can make suitable adjustments with PicsArt without changing the rest of your face.
In this guide, you’ll learn how to edit eyebrows in PicsArt and create a balanced look while keeping your photo natural.
What are eyebrow-editing quick references?
|
Editing Goal |
Best Approach |
Avoid |
|---|---|---|
|
Make brows look fuller |
Add small, light strokes |
Solid color filling |
|
Balance uneven brows |
Adjust the weaker-looking side slightly |
Making both brows identical |
|
Extend short brows |
Add gradual strokes toward the tail |
Long, sharp extensions |
|
Lighten a dark brow |
Reduce opacity or use a softer shade |
Erasing the entire brow |
|
Clean stray hairs |
Carefully erase individual hairs |
Removing all natural texture |
|
Soften harsh edits |
Lower opacity and blend edges |
Heavy smudging |
|
Match brow color |
Sample a nearby natural shade |
Using pure black automatically |
Why Do Eyebrows Look Uneven in Photos?
Before editing, it helps to understand why your eyebrows may appear different in a picture. Common reasons include:
You don’t need to reshape your eyebrows, a small adjustment is enough.
How to Fix Uneven Eyebrows in PicsArt
1. Open Your Portrait
- Open PicsArt and import the photo you want to edit.
- Choose a clear image where both eyebrows are visible
2. Zoom Into the Eyebrow Area
- Zoom in before making any changes.
- This allows you to see the natural eyebrow line, individual hairs, and areas that need correction.
3. Choose the Thinner Brow as your reference.
- Instead of changing both eyebrows immediately, identify which brow looks thinner, shorter, or less defined.
- Use the stronger-looking eyebrow as a general reference, but don’t try to copy it perfectly.
4. Fill Small Gaps
- Use a suitable drawing or brush tool to fill the gap areas.
- Keep the strokes short and follow the direction of the existing eyebrow hairs. Large strokes can make the brow look like a solid painted shape.
5. Correct the Brow Length
- If one eyebrow appears shorter, extend it carefully toward the natural end of the brow.
- Avoid making the tail too long or too pointed. The extension should gradually become lighter so it blends with the surrounding hair.
6. Clean Up the Edges
If your eyebrow looks too thick after adding color, use an eraser or suitable retouching tool to remove excess areas.
7. Match the Color
- Choose a shade that is close to the existing eyebrow color.
- If the edited brow is darker than the other one, reduce its opacity or choose a softer shade.
- For realistic results, don’t automatically choose pure black. Brown, dark brown, or another shade closer to the original brow may blend better depending on the photo.
8. Reduce the Editing Strength
- After completing the adjustment, zoom out and inspect the entire face.
- If the edited eyebrow immediately attracts attention, the effect may be too strong.
- Reduce the opacity or remove some of the strokes until both eyebrows appear balanced.
How to Make Eyebrows Look More Symmetrical
Perfect symmetry isn’t necessary. Instead, focus on visual balance. Compare these areas:
Correct the most noticeable difference first. Trying to fix every tiny difference can make the final image look unnatural.
How to Edit Eyebrow Tails Naturally?
- The tail of an eyebrow can easily become too dark or sharp during editing.
- To avoid this, gradually reduce the intensity as you move toward the end. Use shorter strokes and leave some of the original skin visible between them.
Here is the detailed guide on how to install PicsArt on PC and its use.
How to Remove Stray Eyebrow Hairs?
- If you want a cleaner brow without changing its basic shape, use a retouching or erasing method to remove a few distracting hairs around the edges.
- Don’t remove every small hair. Some texture helps eyebrows look natural, especially in close-up portraits. Work at high zoom and make changes gradually.
How to Fix Eyebrows When One Is Higher?
- If one eyebrow looks higher because of the photo angle, avoid moving the entire eyebrow dramatically.
- Instead, slightly adjust the thickness or definition of the lower-looking brow. This can create the appearance of better balance without changing the face.
Common Problems to Avoid
Making Both Brows Identical
Natural eyebrows are rarely identical. Copying one eyebrow exactly onto the other can make the result look artificial.
Using Too Much Color
Heavy color can make an eyebrow look like makeup drawn onto the skin. Build the effect gradually.
Creating Sharp Corners
Extremely sharp arches and tails can make the edit obvious. Keep transitions soft.
Ignoring the Original Lighting
A brow may appear darker on one side because of shadows. Before changing its color, check whether lighting is causing the difference.
Editing Only at High Zoom
Always inspect the final result at normal viewing size. An edit that looks subtle when zoomed in may appear excessive in the finished portrait.
How to Check Your Final Edit?
Before saving your photo, temporarily compare the edited version with the original. Check:
If the answer to the last question is yes, reduce the intensity of your changes.
How to Fix Eyebrows When One Is Higher?
How to Fix Eyebrows When One Is Higher?
Final Thoughts
PicsArt can be useful for making suitable eyebrow corrections in portraits. Instead of completely changing the shape, focus on small improvements such as filling gap areas, balancing thickness, cleaning stray hairs, and softening uneven sections.
With careful adjustments and a little practice, you can create balanced eyebrows without making the photo look heavily edited.