How to Remove Background in PicsArt? Step-by-step guide.
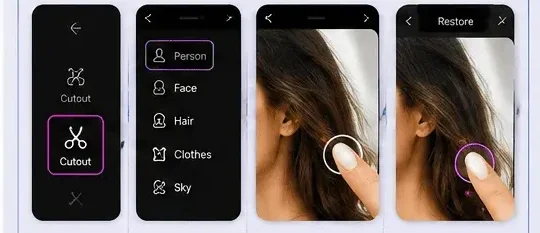
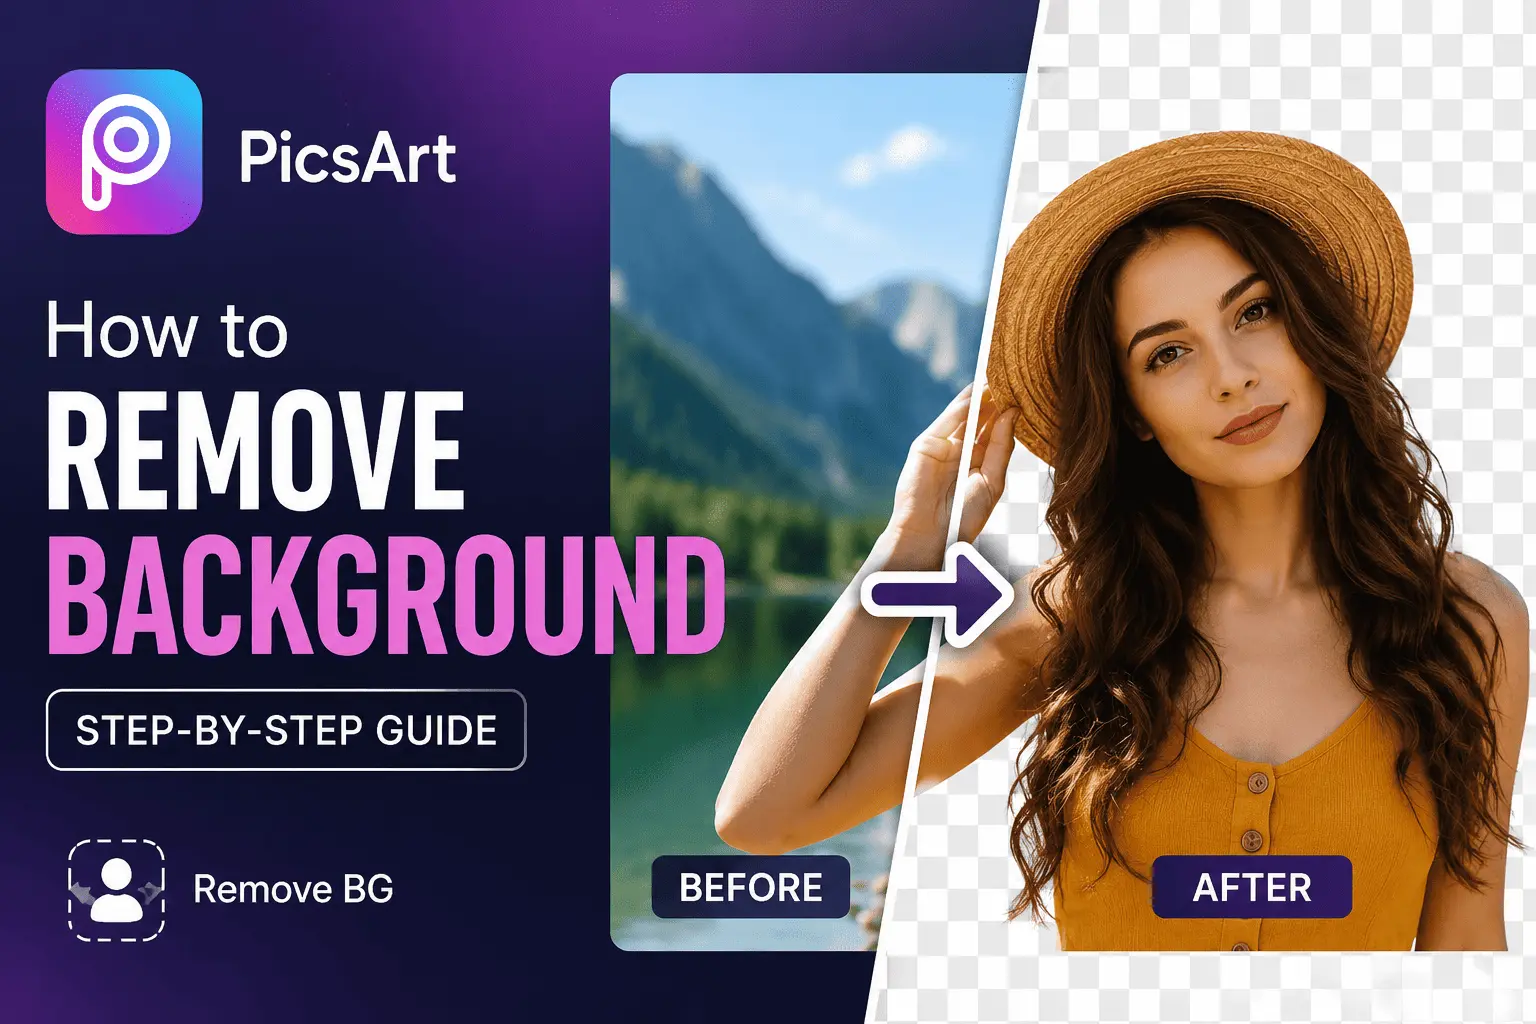
Want to remove background in PicsArt without using difficult editing software? PicsArt makes background removal simple with its AI-powered Remove BG tool and Cutout feature. You can create professional-looking images by removing unwanted objects, smoothing skin, and replacing dull backgrounds with solid colors, gradients, or custom images. You can remove a background, clean up edges, add a new background, and export the final image as a PNG.
In this guide, you’ll learn how to remove background in PicsArt in detail
Why Should You Use PicsArt to Remove Background?
- PicsArt is useful for quickly removing backgrounds from portraits, product photos, pets, thumbnails, and social media images.
- The Remove BG tool automatically detects the main subject, while Cutout gives you more control when the automatic result is not perfect or you want any changes in it
How Do You Remove Background in PicsArt With Remove BG?
The Remove BG tool is the fastest way to remove a background in PicsArt. Below is the step-by-step guide:
For a transparent result, save the image as PNG.
How Do You Remove a Complex Background in PicsArt With Cutout?
If Remove BG leaves unwanted areas around hair, fur, clothing, or other detailed subjects, the Cutout tool can solve your problem
This method takes longer than Remove BG, but it can produce cleaner results when the image contains complicated edges.
How Can You Remove Background in PicsArt Online Without the App?
- You can also remove the background in PicsArt online from a browser. This is useful if you are working on a Windows PC, Mac, or another device where you don’t want to install the mobile app.
- Open the PicsArt website, find the Background Remover tool, and upload your image. After PicsArt processes the photo, you can download the result or continue editing it in the online editor.
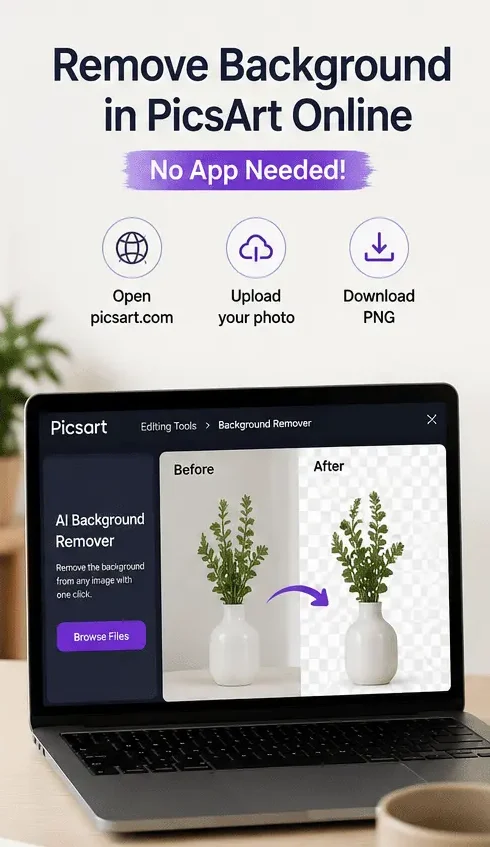
PicsArt also gives you several options for creating a new background after removing the original one. You can use a PicsArt photo editing background, choose a solid color or gradient, or add a PicsArt Background HD image to give your photo a more professional look.
How Do You Fix Hair and Fur After Removing a Background?
- Hair and fur can be difficult for automatic background removers, you can switch to the Cutout tool for manual selection.
- Zoom into the subject, use a smaller brush around the edges, and restore any hair or fur that was accidentally removed. Taking a little extra time around detailed edges can make the final image look much more natural. more on improving creativity than repairing image quality.
How Do You Fix Common PicsArt Background Removal Problems?
Sometimes the automatic result needs a little correction. Here are some common problems and solutions:
How Do You Save a Transparent Background in PicsArt?
After removing the background, leave the transparent checkerboard visible instead of adding another background. Then export the image as PNG, which is suitable for the following:
If you save the image as JPEG, the transparent area will not remain transparent.
Can You Remove Background From Multiple Photos in PicsArt?
PicsArt’s batch editing capabilities can be useful when you need to process multiple images for product photography or social media content. Availability of batch and premium features can depend on the current PicsArt plan and version. For a large collection of images, check which tools are available in your version before starting the workflow.
Which PicsArt Background Removal Tool Should You Use?
|
Tool |
Best for |
Editing control |
|---|---|---|
|
Remove BG |
Simple portraits and products |
Automatic |
|
Cutout |
Hair, fur and complex edges |
Manual |
|
Background Remover Online |
PC and browser editing |
Automatic |
For most everyday photos, start with Remove BG. If the result needs correction, move to Cutout for more precise editing.
Conclusion
Learning how to remove a background in PicsArt is very easy even for beginners. Start with the Remove BG tool when you want a fast automatic result. If the image contains hair, fur, clothing details, or other complicated edges, use Cutout to refine the selection manually.
For transparent images, export the final image as PNG. With these tools, you can quickly prepare photos for thumbnails, social media designs, product images, and creative projects.